
Fitted older style number plates front and back as they are now permitted on 40+ year old vehicles.


2019
As much as I would like to restore this MGB GT back to its original spec it was quickly clear to me that is was better to stick with what I have and move on from here.
With that in mind I had it trailered to my house from some 140 miles away. Did not want drive all that way, most of it on motorway.
Here is what I have done to date:- This does not include any general maintenace tasks, fluid changes etc.
Not necessarily in the order below.
01 Dec 2019 -Number plate backing plates
Just came across some chromed plastic backing plates in B&M for £2.99 each!
Fitted them to front and back number plates and they look ok. Had to raise rear plate up about 10mm to accommodate . Rear door clears ok!
At least they won't rust!


New GT and rear badges. Replaced the existing 2 GT badges and rear MG BGT badges with new.


Above... Body work beneath GT badges


Wiper arms and blades Replaced existing with new stainless steel.

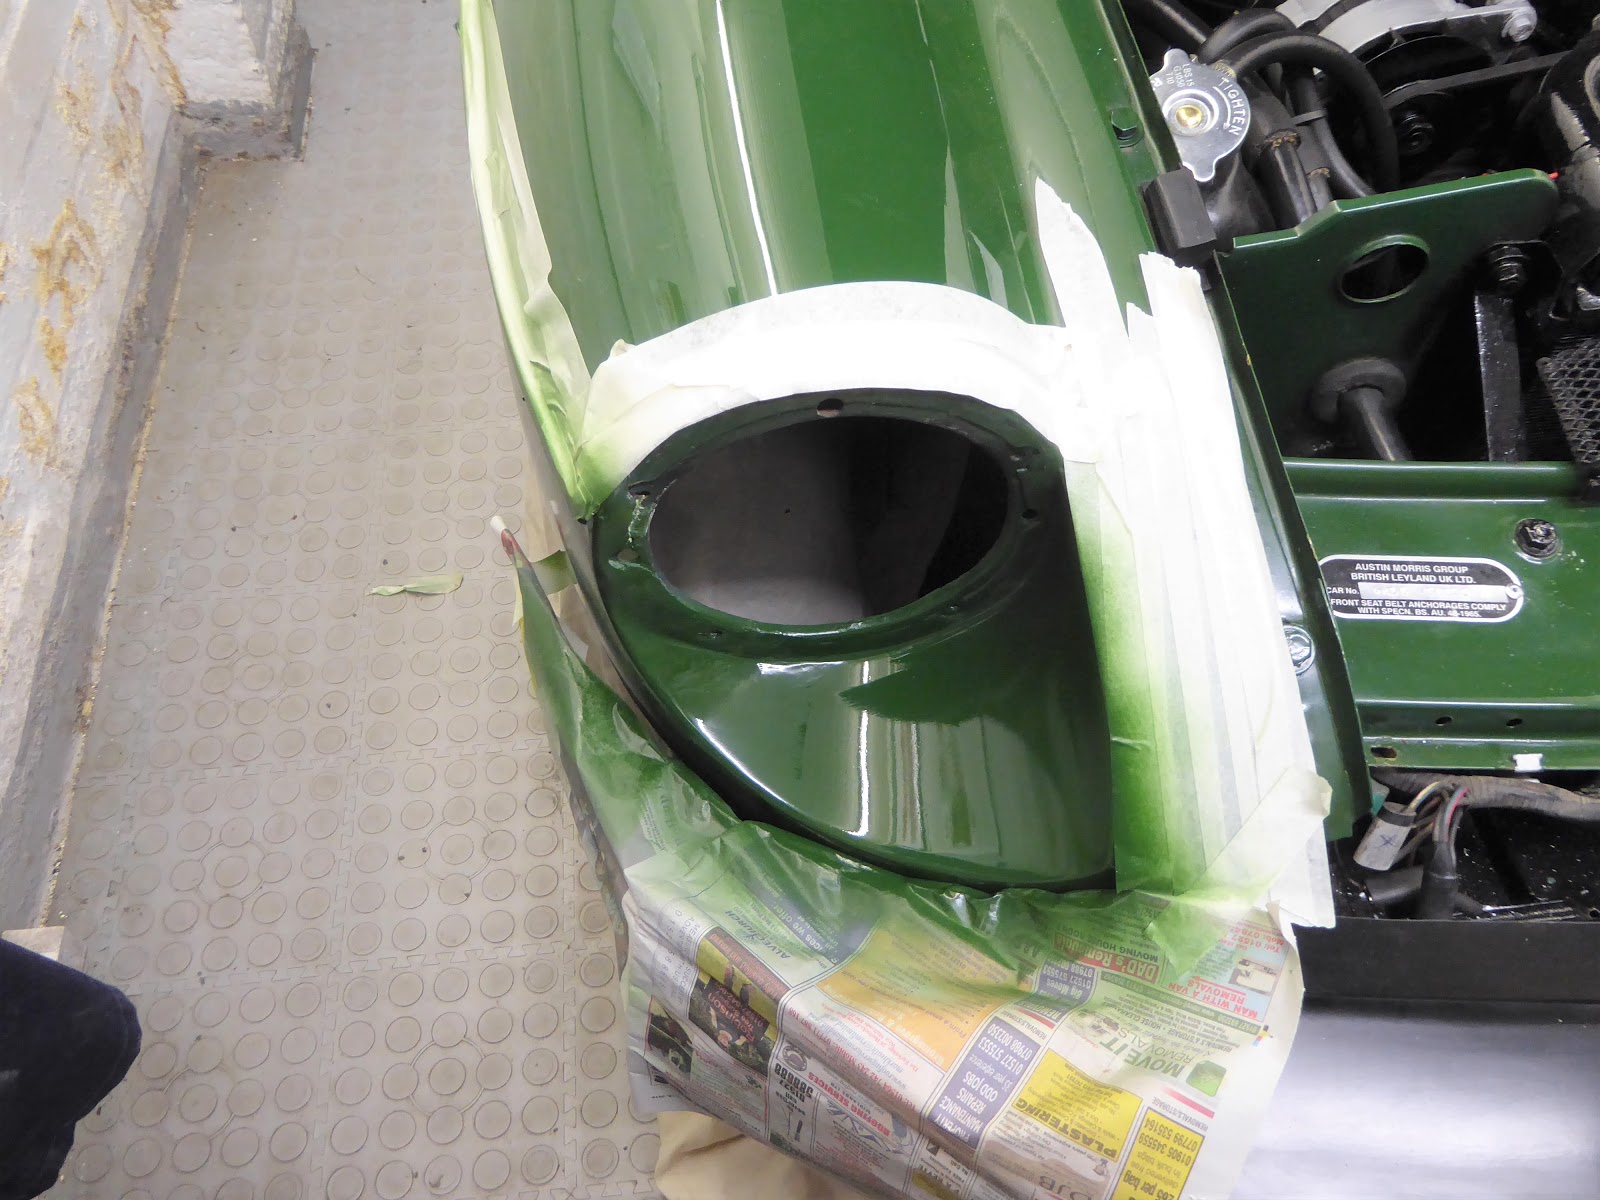
New air intake grille. Removed old and fitted new.

Condition of bodywork with grille removed above

New grille, mesh and fittings.
Go faster Stripes! As an experiment I bought a pair of silver multi striped LE decals with MGB lettering and fitted them. Start position was level with the top of the rear bumper not bottom of the door as suggested by the maker. Then measured down from waistline chrome strip at the same level for the rest. I think they look okay. Have had mixed reaction to them!


Bonnet Gas Struts Decided to fit gas strut kit to bonnet, one strut each side. Bought the kit, from MGBHive, and had a go! Kit was for 1975 0n rubber bumper version. At first there seemed little room to fit the offside strut as it would get dangerously close to the brake reservoir. Did have to drill holes to allow brackets to be bolted to wing gutter on both sides Also to fit the kit you need to cut off the existing nearside strut attachment bracket welded to the wing. It doesn't state that in the instructions! However once the bracket was off there was no turning back. Eventually all was well but had to fit a 6mm spacer ( nut with thread drilled out) between the body and bracket to lower the bracket sufficiently so it didn't foul the bonnet when closed.

Existing mechanical bonnet support. Near side

Off side

Near side

Off side -uses existing holes

Near side - uses existing holes

Off side

Near side


Gas struts work fine and gives opening and shutting the bonnet a much more modern feel. Access when open is very similar to the single strut access.
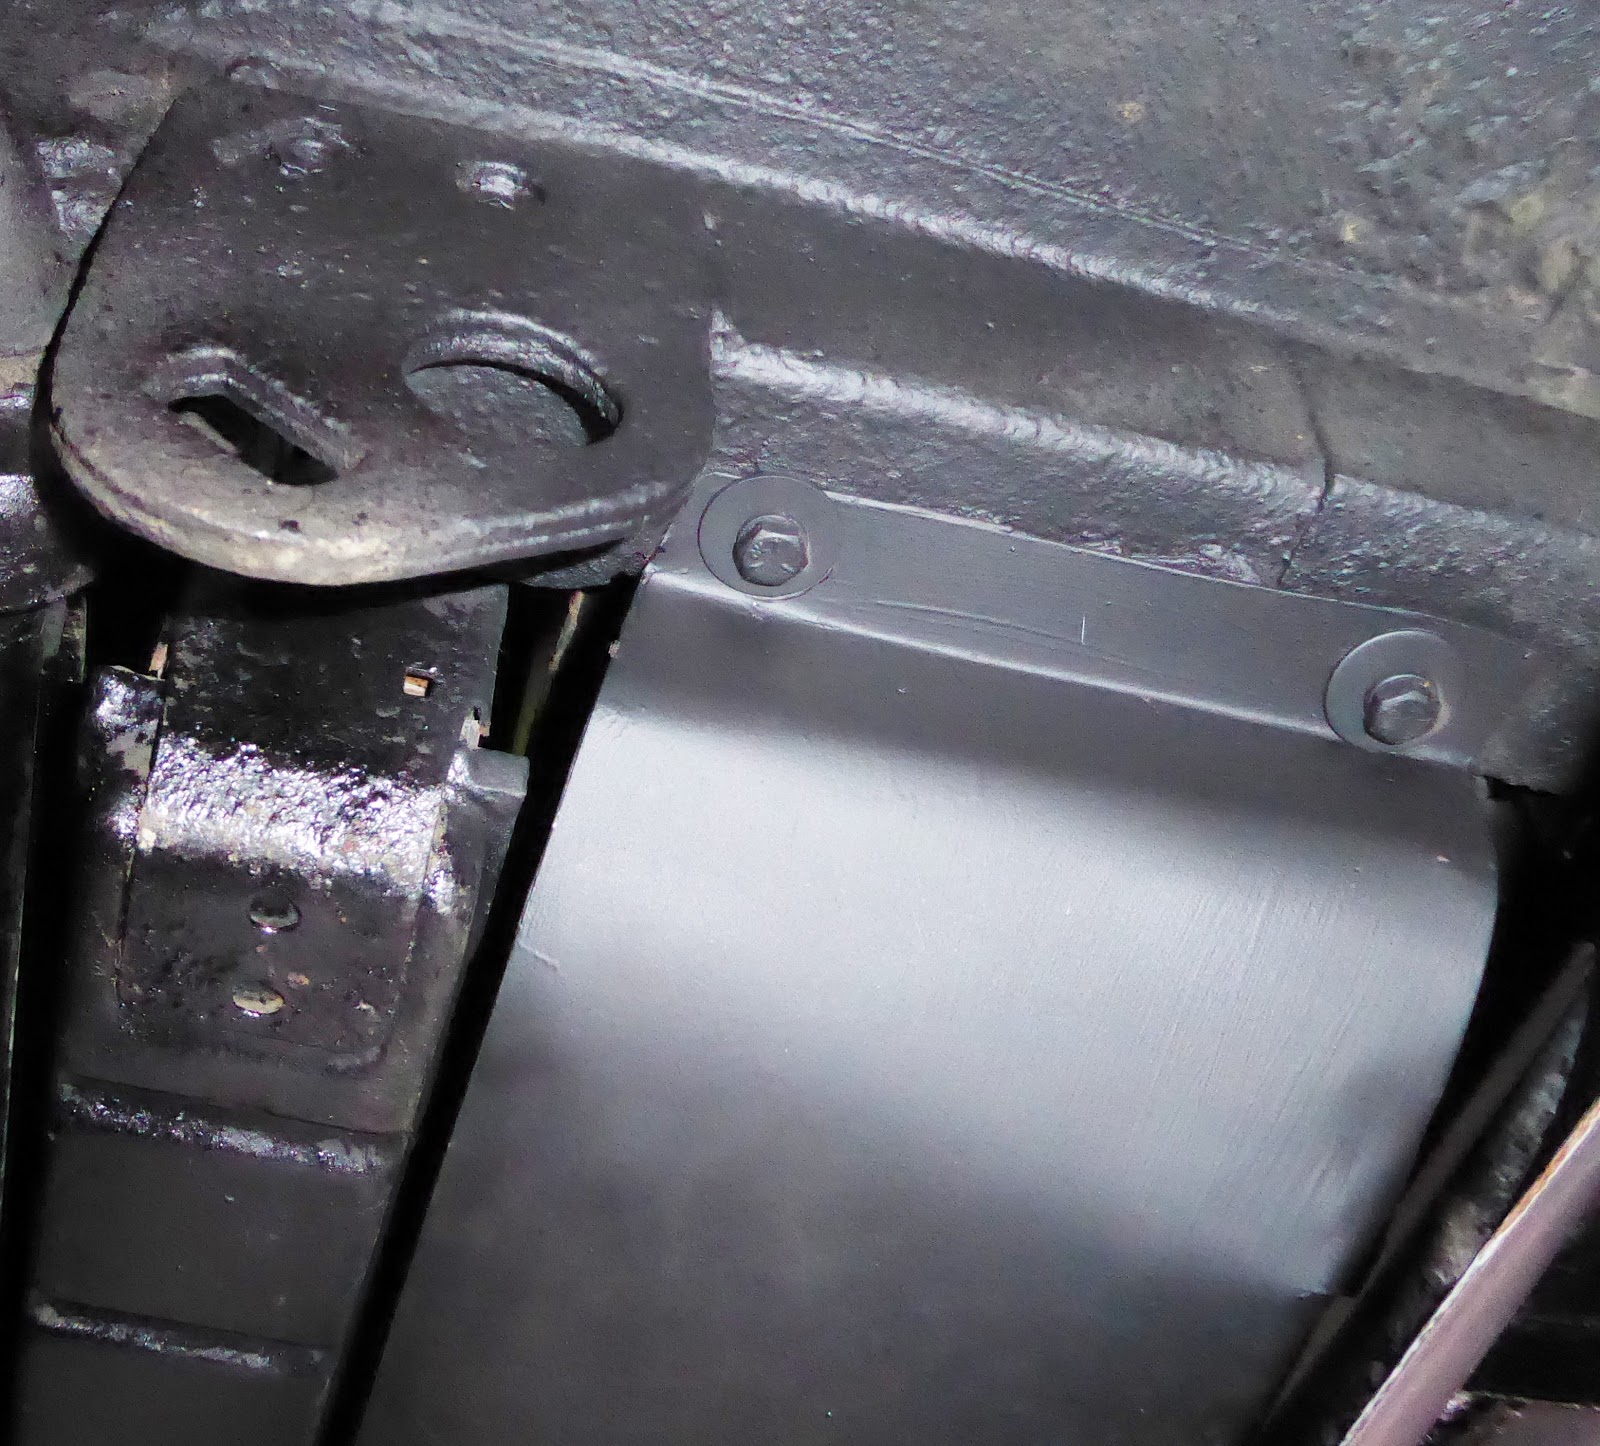
Boot. In very good condition to start. General clean up and a quick green respray to make near perfect. Bought a missing pump shield bracket and fitted. Bought boot floor gas strut kit and fitted that. It does make getting at stuff in the lower boot area much easier. No more balancing the floor on my head!


GAS STRUTS FITTED TO BOOT FLOOR
Ignition Key. Ever had one of those days! Only had one ignition key supplied with the MG so I tried to get a second cut at the local locksmiths. They had to send for a blank as it was special. While waiting I found what I thought was a second key in a box of documents. Inserted in lock, gentle turn and it snapped off leaving a good 15mm of key buried in the ignition lock! How to get it out? After trying every suggestion on YouTube it quickly became clear it was not going to move. So sent for a new Lucas ignition lock. A few days later I removed the 3 bolts that held the steering column dropped it down to access the lower cowl screws and removed the cowl. Took a sharp punch to the top surface of the shear bolts and tapped them undone. Surprised how easy this worked. Fitted the new lock and all worked. Now I have 2 keys!
Indicator switch . I had noticed that the indicator switch was a bit loose. It worked fine but had movement in the neutral position. While the cowl was off from the steering lock replacement had a good look and found the clamping ring, part of the switch, that holds it to the steering column, was broken. Had one attempt at gluing it in place but it soon broke again. So sent for a new switch. Had to remove the steering wheel to get this in place and transfer over the wiper switch. All went well and operation of indicator switch is now good.
Interior light switch. Not working. Plastic distorted internally. Replaced with new.
Windscreen wiper spindle chromes. Replaced both with new chrome spacer and washer.
Windscreen wiper spindle chromes. Replaced both with new chrome spacer and washer.
Bonnet release cable. Half of handle broken off. Replaced with new cable.
Accelerator cable. Didn't like colour! Replaced with black cable.
Bonnet badge Added new MG bonnet badge to replace old.
Bonnet badge Added new MG bonnet badge to replace old.
Carb float needle valves. Had a severe leak from the overflow pipes from the carbs. This happened several times. Bought replacement kit of needle valve parts and replaced on both carbs. Checked and adjusted float height. Fitted new in line fuel filter also. Problem cured.
Tank to fuel pump hose. Fuel pump made a lot of noise from the onset but one day engine stopped completely. Tracked down to lack of fuel. Found flexible hose from tank to pump had a large split adjacent to pump and pump was just sucking air. Removed and replaced with new hose. Now the pump is a lot quieter! Must have been sucking some air all along.
Engine bay work. Have done a lot of cleaning, painting and smartening up in the engine bay. this includes new heater valve, radiator cap, chrome rocker cap, chrome coil cover, chrome carb dash pot covers, added missing vacuum pipe to carb, replaced oil hose grommets and oil hose straps, new reverse embossed chassis plate.


Cardboard engine shield Some areas of this had delaminated. Removed from car, glued back together with waterproof PVA, clamped then painted black when dry and reinstalled..
Lower air duct. This cardboard item had gone too far to repair so home made one in aluminium and bolted in place.

LOWER DUCT
External Body work. Mainly just the odd bit of touching up the paintwork. Found that Halfords Brooklands Green spray can is an excellent match.
Headlights. Replaced both rusted headlamp buckets for new metal ones including new rubber seals between bucket and bodywork. Fitted new sealed beam units as those fitted were of a flatter shape to the tradition ones. Added new chrome bezel rings and catches.

HEADLAMPS OUT, BODY WORK TIDIED, READY FOR NEW BUCKETS
(More pics to come)

Existing headlight

Replacement light.
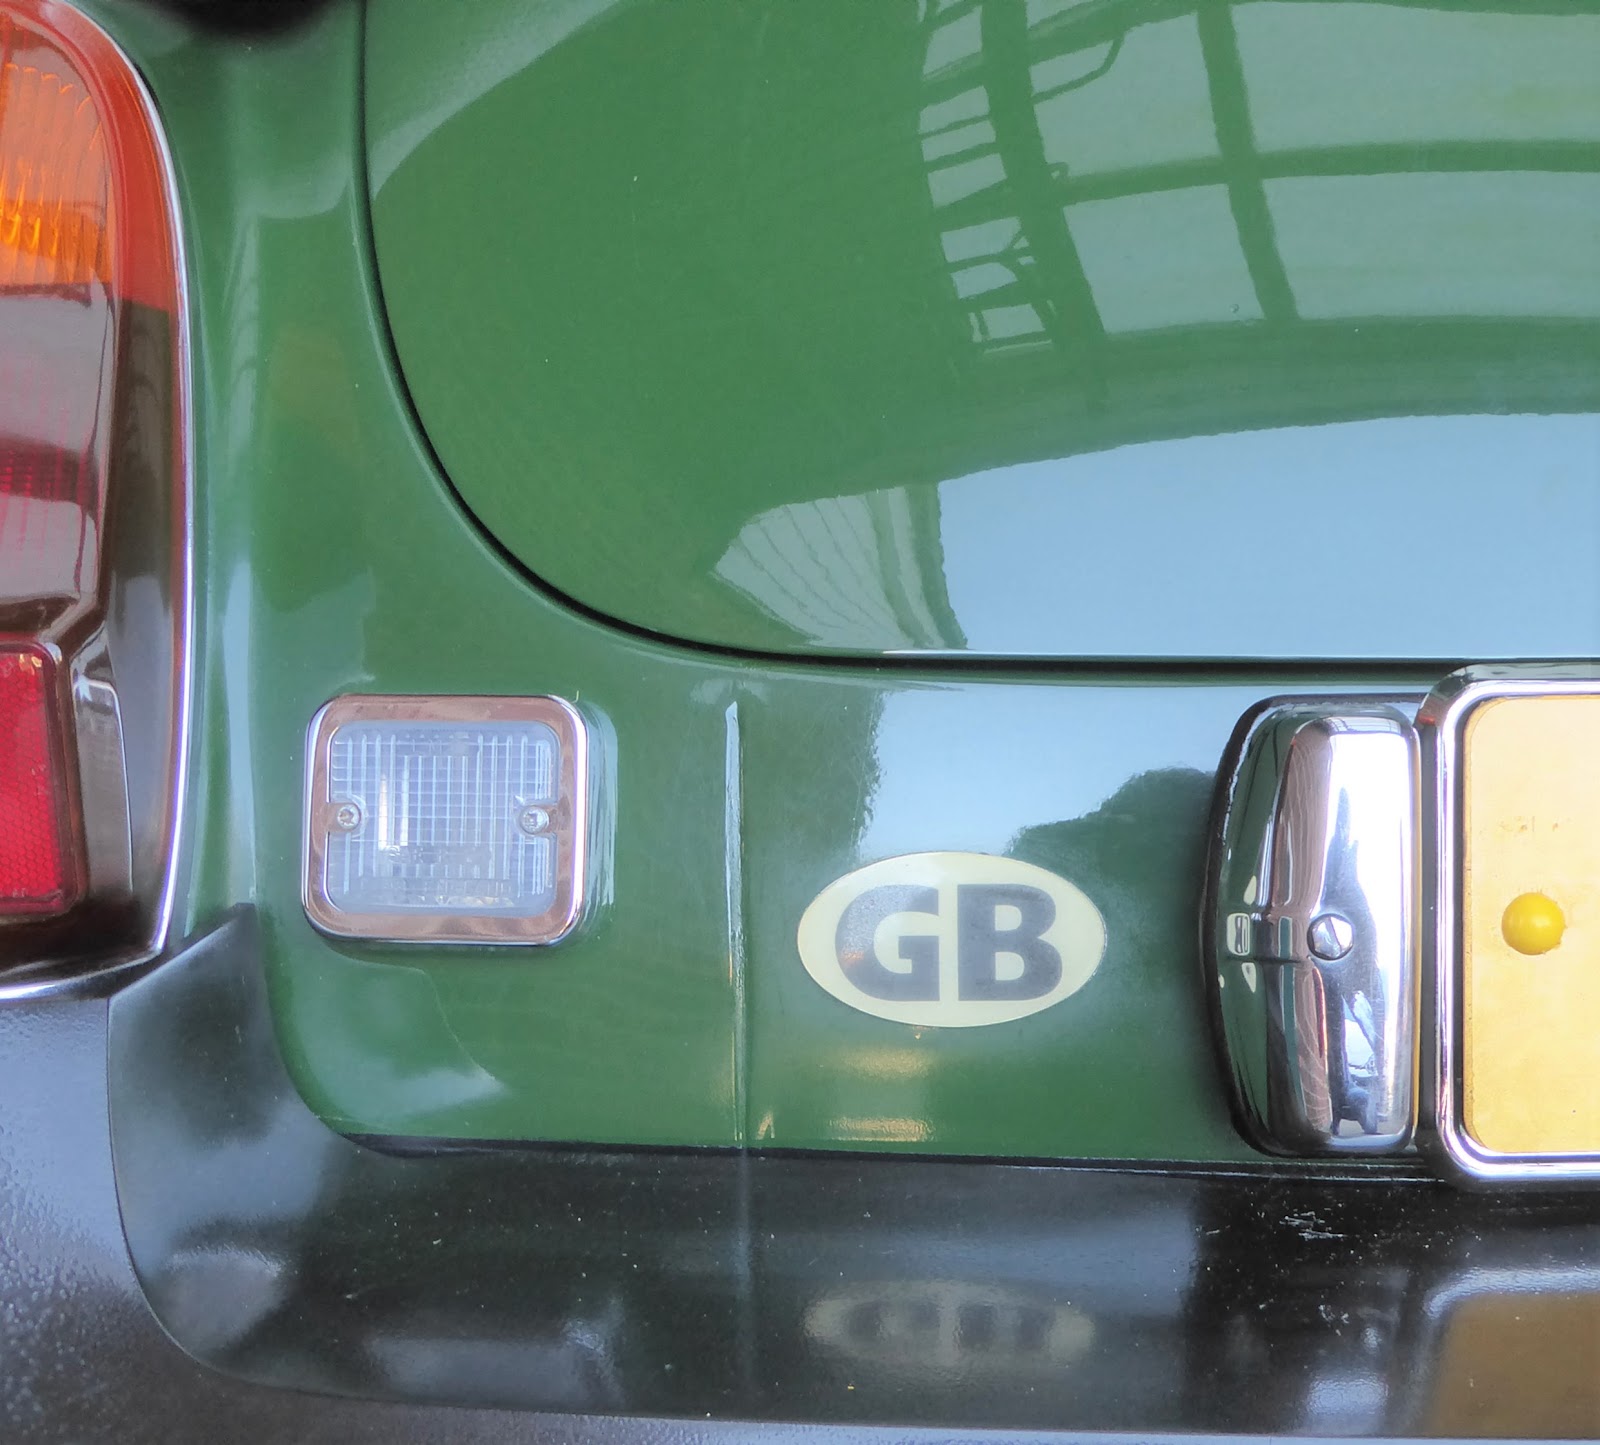
Also added new chrome number plate lights, chrome reversing light bezels, lockable fuel cap.

Rubber Bumpers. After a bit of trial and error I sprayed them with a clear gloss coat to take the dullness off them. Not too bad but may come off with a bit more use. Seriously considering having them painted body colour if I can find someone to do them!
Interior work. Several small items attended to including.
- New armrest catch
- New chrome gaiter ring
- Extra foam added to drivers seat base.
- Replaced broken seat belt stalk, drivers side.
- Added handbrake grip using bike handlebar grip. ( 22mm)
- Added seat belt guides both seats.
- Washed and cleaned seat belts to help them return better.

Handbrake grip

Seat belt Guides


No comments:
Post a Comment